
Material list:
* Peanut butter jar (or any plastic, lidded container)
* Two camp plates or similar (small frisbees would work)
* Drill with 1/8", 1/4" and 1/2" bits
* 1 stainless steel binding post (1/4" wide by 1" long)
* Washers - 2+ stainless and 1 rubber
* Eye bolt with two nuts
* 3/4" piece of cedar for a spacer
* Jigsaw (to cut out the spacer).

Check out the photos and customize as you see fit
1) Drill 1/4" holes in the center of both plates, jar lid and jar bottom.

2) Assemble top and bottom hardware with plates and jar pieces
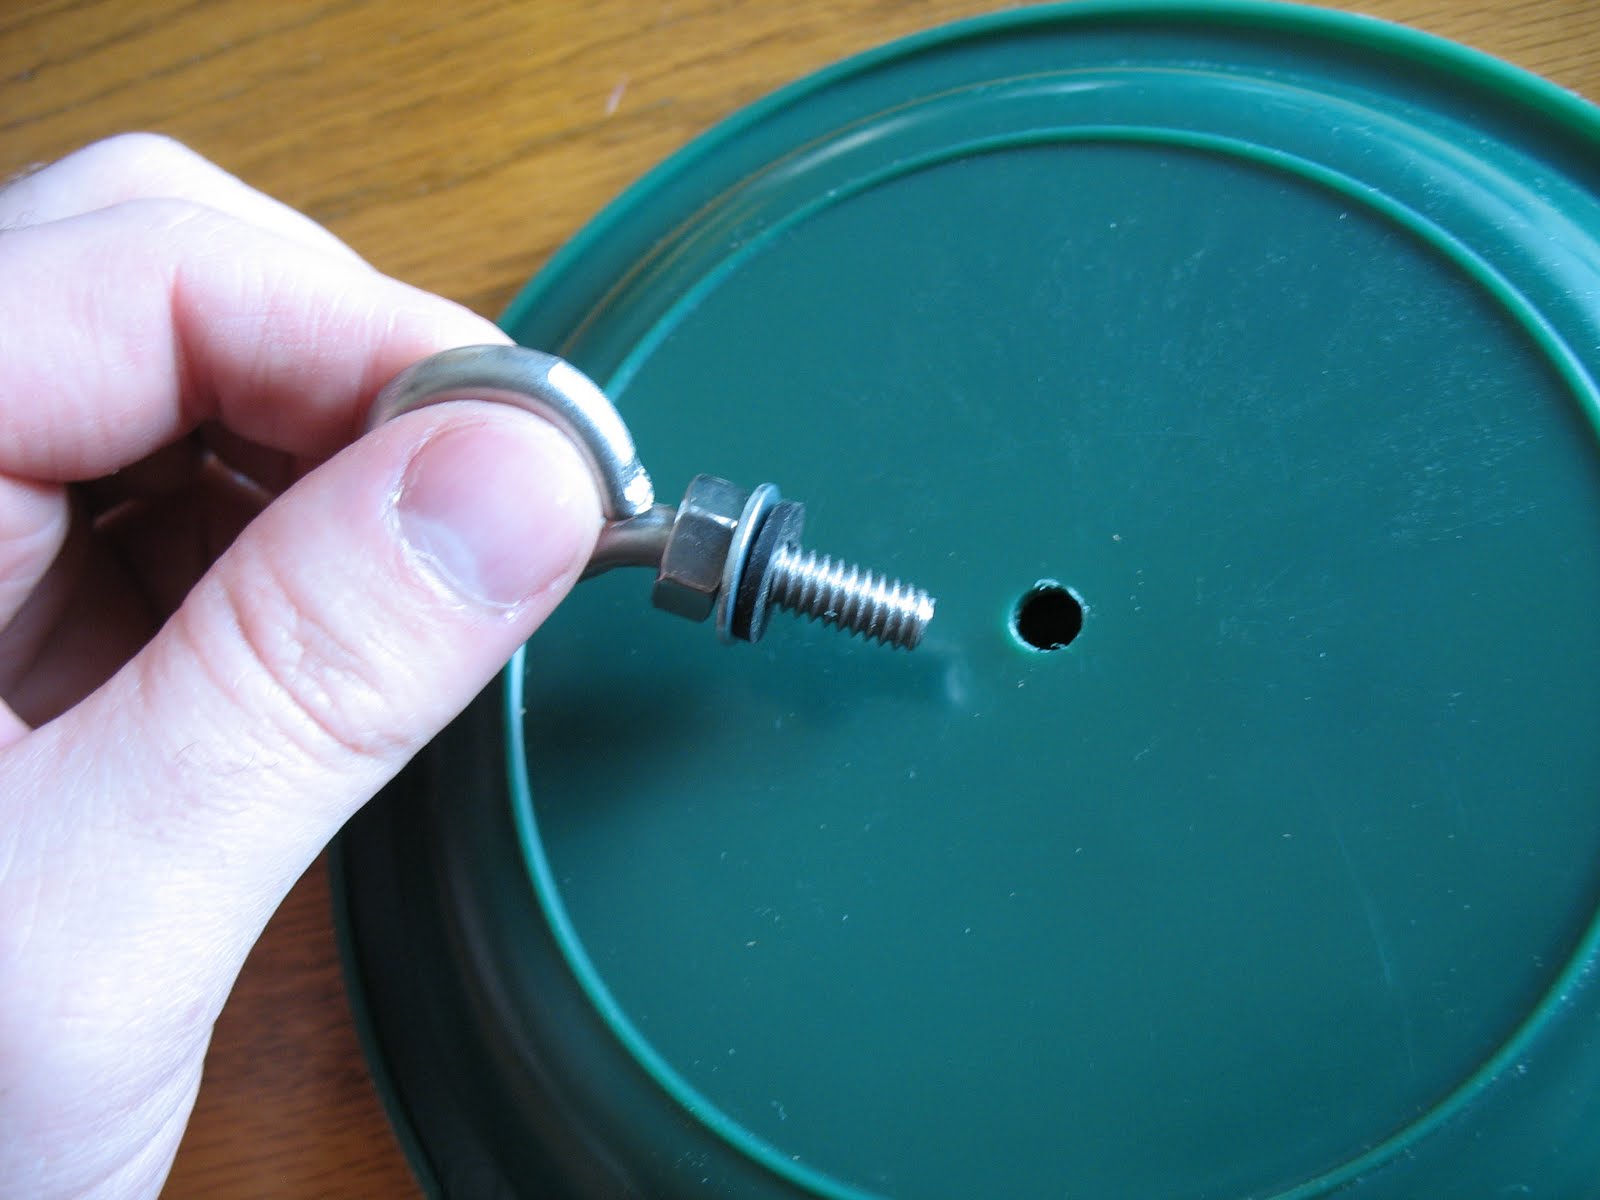
Use the rubber washer along with a normal washer to keep water from leaking in beneath the eye bolt. (This is going to be the top of the feeder). Secure inside the jar with the other nut / washer.


Use the binding post to fasten together the bottom plate, lid and wooden spacer.


To make the spacer I simply found a smaller lid that fit inside the peanut butter jar lid and used it as a template to trace and then cut out a circle from a piece of cedar. The reason for this spacer is to keep seed from resting below an accessible eating place (you'll see why when it all comes together). Be sure to not cut too large a diameter circle. It needs to freely fit inside the peanut butter jar. Use washers as needed to securely join the assembly.
3) Drill two 1/2" holes along the top edge of the jar near the screw threads. This will actually be the bottom of the feeder and allows seed to pour out into the "tray".

4) Drill two 1/4" holes about 1 1/2" to 2" above the threads for birds to feed higher as well. (Not shown).
5) You can trim the excess plastic around the drill holes with a sharp razor blade. This time I used a lighter to heat seal it. I didn't like the results so much because it lost it's clean look. Still it's functional and the birds are eating from it.


6) Drill some 1/8" (or smaller) holes around the bottom tray for drainage.

7) The finished feeder!!!
